Arming event notifications can notify users when and who is arming and disarming the system. Follow the steps below to create an arming event notification from the subscriber portal.
Create or Edit an Arming Event Notification Using Your Subscriber Portal
Share or Print This Article
Solution
1
Go to myaccount-business.cox.com, enter your User ID and Password, and then click Sign In.
Note: If you have not created a MyAccount profile with a User ID and Password, see Setting Up Your MyAccount Profile.
2
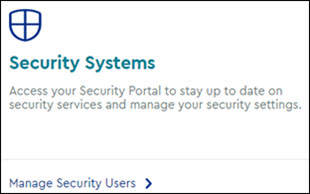
From the Services section, click the Security Systems icon.
3
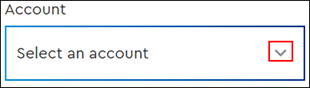
Do you have more than one account?
- If no, then continue to the next step.
- If yes, then from the Select an account drop-down menu, select the account to modify.
4
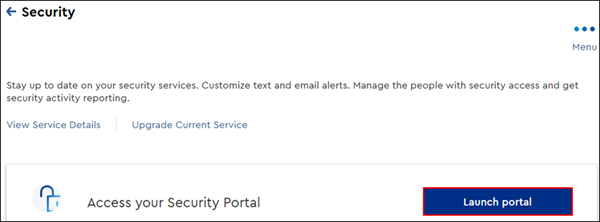
From the Security page, click the Launch portal button.
5
On the left-hand menu of the subscriber portal, click Notifications.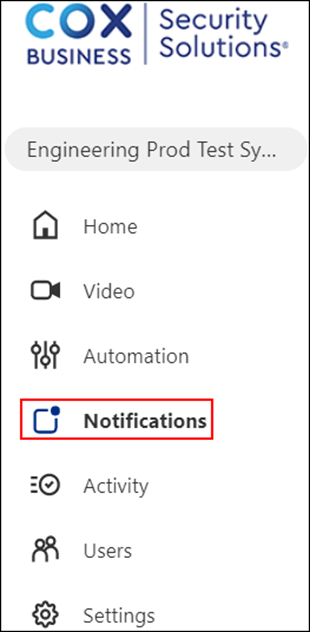
6
On the Notifications screen, click +NEW NOTIFICATION.
7
On the Add a New Notification window, select the Business tab then click the Employee arming activity option.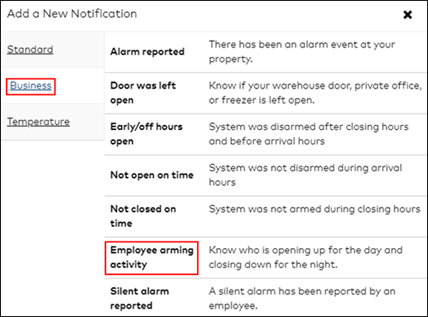
8
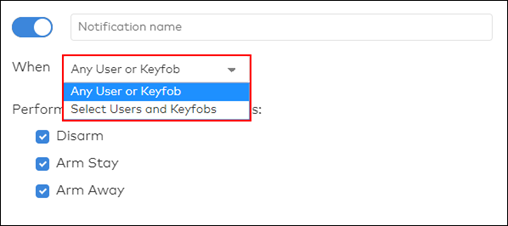
In the Notification name field, enter the name you would like to use for the new event notification.
9
In the When drop-down menu, choose either of the following to monitor user's events.
- Select Any User or Keyfob, to monitor all user's events.
- Select Users and Keyfobs, to monitor specific user's events.
10
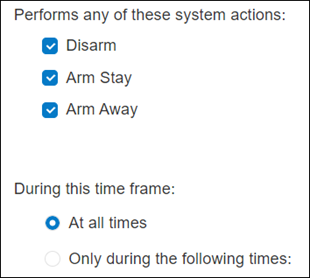
To further define the notification by the actions and time frame, complete the following steps.
- Under Performs any of these system actions, select Disarm, Arm Stay, or Arm Away. You may select any combination of the system actions.
- Under During this time frame, select one of the following.
- At All Times: Select to send notifications on any day and at any time.
- Only During the Following Times: Select to choose the days and times to receive the event notification.
- On the Notification Filtering section. select the checkboxes to limit notifications, based on time occurrence and Geo-device location.

- Click +ADD RECIPIENT, to select names from the Address Book to receive the notifications.
- Click the address book entries that are to be notified. To add a new entry, click +NEW and enter the first name, last name, mobile number, and email address of the new contact.
- Click CLOSE.
11
Verify that the notification is configured correctly and click SAVE.

Cox Business MyAccount Updates
Cox Business MyAccount Updates
With the new and improved MyAccount portal from Cox Business, you’re in control. Included with your Cox Business services, it’s all right at your fingertips anytime, anywhere.
- Perform a health check on your services and reset your equipment
- Easily configure key features and settings like voicemail and call forwarding
- View your balance and schedule payments
Search Cox Business Support
Search Cox Business Support
Didn't Find What You Were Looking For? Search Here.