Complete the following steps to set up a guest network.
Setting Up a Guest Network
Solution
Enter 192.168.0.1 in your web browser to open the Cox Wireless Cable Voice Gateway portal.
Click the Wireless link in the top toolbar and then click the Guest Network tab.
In the Guest Networks section, click the Wireless Interface drop-down menu and select the 2.4GHz bandwidth.
Place your cursor in the Network Name field and enter the name you want guests to see when they access the network.
Scroll right to the SSID Broadcast column and click the toggle to the on position for both SSID Broadcast and Enable columns.
Scroll down to the Guest LAN Settings section and confirm that the network name you created displays as the default in the Network Name drop-down menu. If it does not, expand the menu and select it.
Click the Wireless link in the top toolbar and then click the Security tab.
From either the 2.4GHz or 5GHz Wireless Network section, click the Security Mode drop-down menu and select WPA2 Personal.
Click the Encryption drop-down menu and select AES/TKIP and then click the Save button.
Note: The Gateway supports six networks per frequency band for a total of twelve guest networks.

Cox Business MyAccount Updates
Cox Business MyAccount Updates
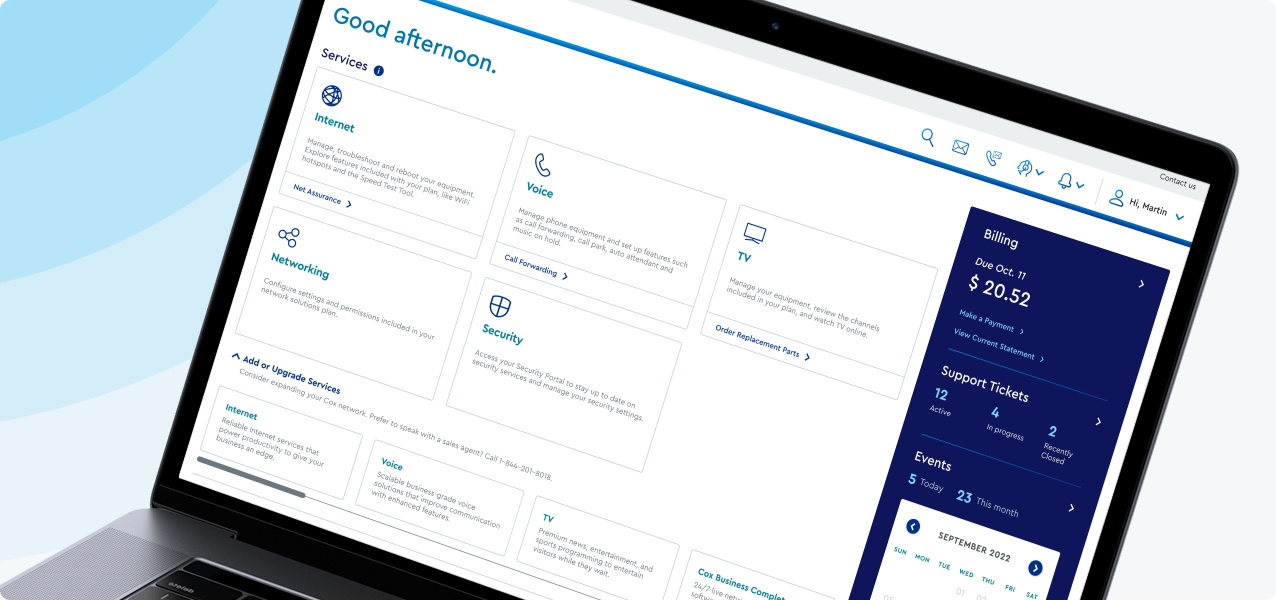
With the new and improved MyAccount portal from Cox Business, you’re in control. Included with your Cox Business services, it’s all right at your fingertips anytime, anywhere.
- Perform a health check on your services and reset your equipment
- Easily configure key features and settings like voicemail and call forwarding
- View your balance and schedule payments
Search Cox Business Support
Search Cox Business Support
Didn't Find What You Were Looking For? Search Here.