# Personalized Support The fastest, easiest way to get support. ## SmartHelp Support Tool Easily resolve unexpected service and device issues with **SmartHelp**, your personalized support tool included in your account. SmartHelp is available when you sign in to the Cox website or use the Cox app. [Fix my problem](https://www.cox.com/coxapp/smarthelp) ## Support Image 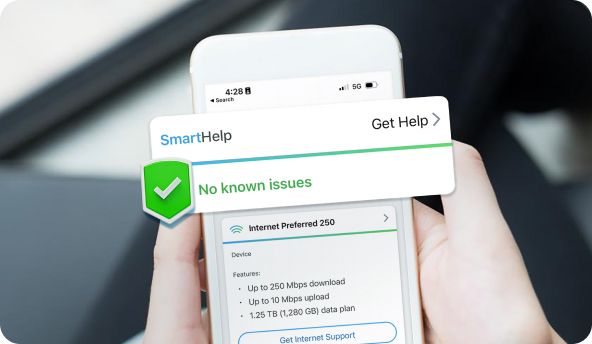 SmartHelp support highlighted on a mobile device. ## Cox App Get help with your Cox services from anywhere. Install your service in minutes, manage your account, and access SmartHelp support with the Cox mobile app. [Download the Cox app](https://www.cox.com/coxapp/open) ## Search Support Topics Search for help articles and support information using the Cox support search. ## Common Help Topics - [Outage support](https://www.cox.com/residential/support/outages.html) - [Wifi support](https://www.cox.com/residential/support/internet/articles/wifi.html) - [Equipment support](https://www.cox.com/residential/learn/smarthelp.html) - [Billing support](https://www.cox.com/residential/support/billing-and-payment.html) ## Search by Service - [Internet](https://www.cox.com/residential/support/internet.html) - [TV](https://www.cox.com/residential/support/tv.html) - [Cox Mobile](https://www.cox.com/residential/support/mobile.html) *** Additional support resources and account tools are available through the Cox website and mobile app.