• Contact Us
  • Select a Location
    Close Location Selection

    Current Location:

    Let us know the location you'd like to browse.

    Select a Location
    OR

Setting Up Custom Ringback User Online

Solution

Follow the steps below to set up Custom Ringback.

1

Go to myaccount-business.cox.com, enter your User ID and Password, and then click Sign In.
 

Note: If you have not created an online profile with a User ID and Password, refer to Setting Up Your Online Profile.

2

From the Services section, click the Voice icon.
 

image of Online Dashboard Voice Icon

3

Do you have more than one account?

  • If no, then continue to the next step.
  • If yes, then from the Select an account drop-down menu, select the account to modify.

    image of select an account drop-down
4
Are you a Profile Administrator or a Profile Owner changing a user's number?
  • If yes, then continue to the next step.
  • If no, then proceed to step 6 for changing your settings.
5

Click the arrow to expand the User & System Management section and complete the following.
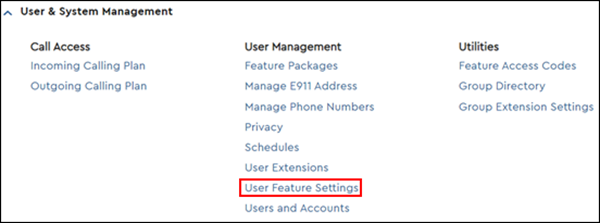
  1. Click User Feature Settings.

     Image of User Feature Setings settings

  2. Locate the number you are modifying and click Edit.

    Image of User Feature Settings page
6

Click the arrow to expand the Call Receiving section, then click Ringback.

7

Refer to the following table for the next steps.
 

ActionSteps
Delete
  1. From the Manage column, click Delete.
  2. Click the Delete button.
  3. All steps complete.
Edit
  1. From the Manage column, click Edit.
  2. Proceed to step 9.
AddContinue to the next step.
8

Click Add Custom Ringback Rule.

9
Complete the following steps.
  1. In the Description field, enter a descriptive name for the Call Notify profile.
  2. In the When Receiving Calls From field, select one of the options below.
    • Any Phone Number
    • Specific Number

      Note:
      If using the specific number option, you can designate all private numbers, and all unavailable numbers, or specify specific phone numbers.
      • Select the Any Private Number to link all private phone numbers to the profile.
      • Select Any Unavailable Number to have all unlisted numbers linked to the profile.
      • Enter a specific number to link it to the profile.
      • Click Add Another Number to link additional phone numbers to this profile.

        Note: You can have up to 12 numbers.

  3. Use the Action options to specify if you would like to play a custom ringback message.
    • To not play a custom ringback, continue to the next step.
    • To play a custom ringback, then click the Select Audio link. Click Choose File to find and upload a file.
  4. A Custom Ringback rule can be enforced at all times, on a prescribed schedule, or be specified for holiday hours. In the During Regular Schedule drop-down menu, select a schedule if you want to enforce the rule during your defined hours.

    Note: The Add a Regular Schedule link allows you to create a regular schedule.

  5. In the During Holiday Schedule drop-down menu, select a holiday schedule if you want to enforce the rule during your defined holiday hours.

    Note: The Add a Holiday Schedule link allows you to create a holiday schedule. For more information on setting up time schedules, refer to Creating and Managing Time Schedules Online.
10

Click Save and Return.

New MyAccount

Cox Business MyAccount Updates

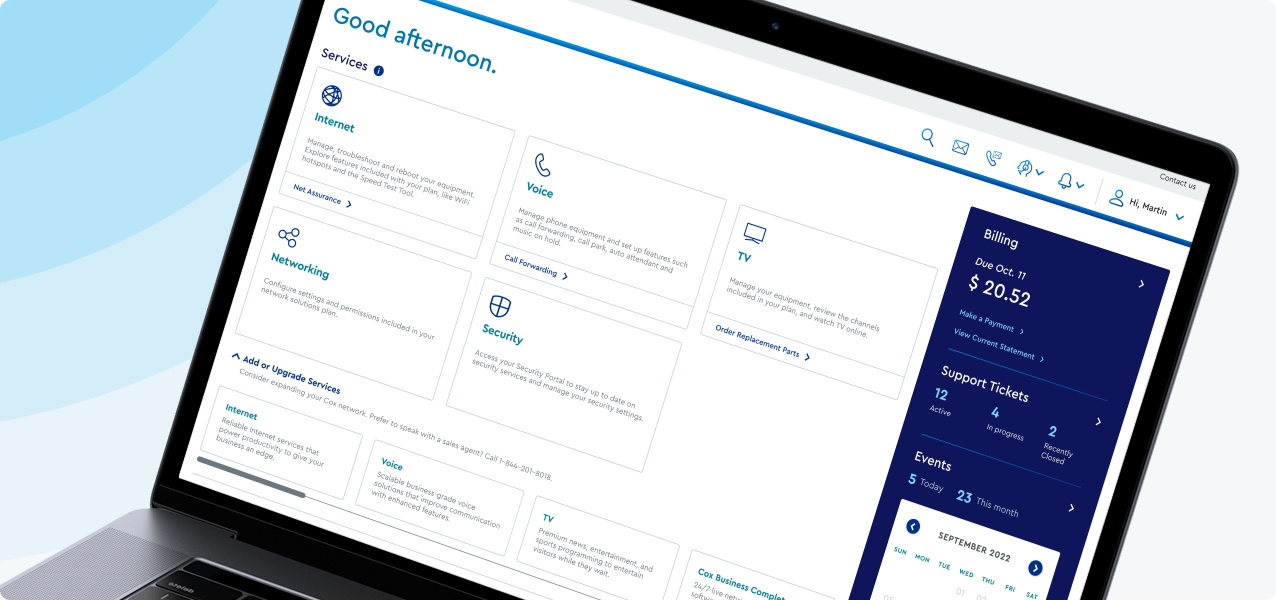
With the new and improved MyAccount portal from Cox Business, you’re in control. Included with your Cox Business services, it’s all right at your fingertips anytime, anywhere. 


  • Perform a health check on your services and reset your equipment
  • Easily configure key features and settings like voicemail and call forwarding
  • View your balance and schedule payments

Search Cox Business Support

Didn't Find What You Were Looking For? Search Here.